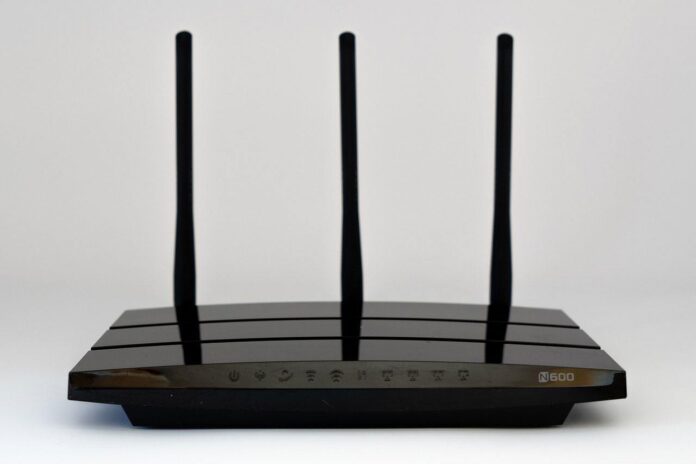
If your business operates out of an office, a retail store, or a public building, it’s essential that you have a guest Wi-Fi network. When customers, partners, retailers, or suppliers visit your business, they will expect to have some form of Wi-Fi access. You should never allow any guests to use your primary Wi-Fi connection, as it could lead to a data or system breach. There are two reasons for this. Either you guest could access confidential data themselves, or their mobile device could unknowingly contain malware.
Also Read: Protecting Your Business: 3 Cybersecurity Services to Consider
Benefits of a guest Wi-Fi network
Setting up a guest Wi-Fi network is beneficial for both your business and your guests. Anyone that visits your business will be able to jump onto your network without any hassle quickly. You can choose to add passwords to guest networks or leave them open. You can also set different capabilities on your guest network, allowing users to access your office printer or select files through the guest network. By limiting the access of those on your guest network, you can prevent viruses from entering your primary network through your guest’s devices.
How to set up your guest Wi-Fi network
It’s essential that when you set up your guest network, you do so correctly. If it’s misconfigured, then guests may struggle to connect, causing frustration. Worse, incorrect set up could leave your system vulnerable to cyberthreats. The best way to ensure your network is configured correctly is by using a managed IT service provider like Techware Corporation, to do it for you. They know precisely how to set the network, so it functions optimally and continuously monitor it to detect suspicious activity or potential threats.
If you want to give the set-up a try yourself, here is how you can go about it.
1. Ensure your router supports a guest network
Most business routers should support the addition of a guest network, as well as some residential models. You can find out if your router will support the guest network by checking out the manufacturer’s website or looking through your router settings to see if you can find it. Each router will call it something different, but they should all have the word “guest” in the title.
2. Log in to your router as an administrator
If your router has a mobile app, then you can typically log in through there as an administrator. If not, you can access the administrative functions by typing your routers IP address into your web browser.
3. Enable guest Wi-Fi
All routers will have guest Wi-Fi disabled as a default. There should be a simple on/off switch or checkbox to enable it.
4. Choose an SSID for the network
Once you enable the network, most routers will automatically give it a generic SSID. You can customize this section to make it relevant to your business, such as “Your business name – guest” so that visitors know which network to connect to.
5. Make the network visible
You can choose to either hide the network or make it visible to guests. If you hide the network, your guests can still connect if you provide them with the network name and security information.
6. Create a password
Lastly, you can create the password for your guest network. Some businesses choose not to set a password and instead just limit their access to internet browsing only.


